Effective Storyboarding: Clearly Communicate Your Vision
Effective Storyboarding: Clearly Communicate Your Vision
Effective Storyboarding
If you’ve ever been on a film or video production set, you’ll know how crucial it is to have a clear, shared vision. One of the best ways to ensure that your creative concept translates perfectly from paper to screen is through effective storyboarding. Let’s dive into some top tips for agencies to clearly communicate their vision to production partners, ensuring a smooth and successful collaboration.
Why Storyboarding Matters
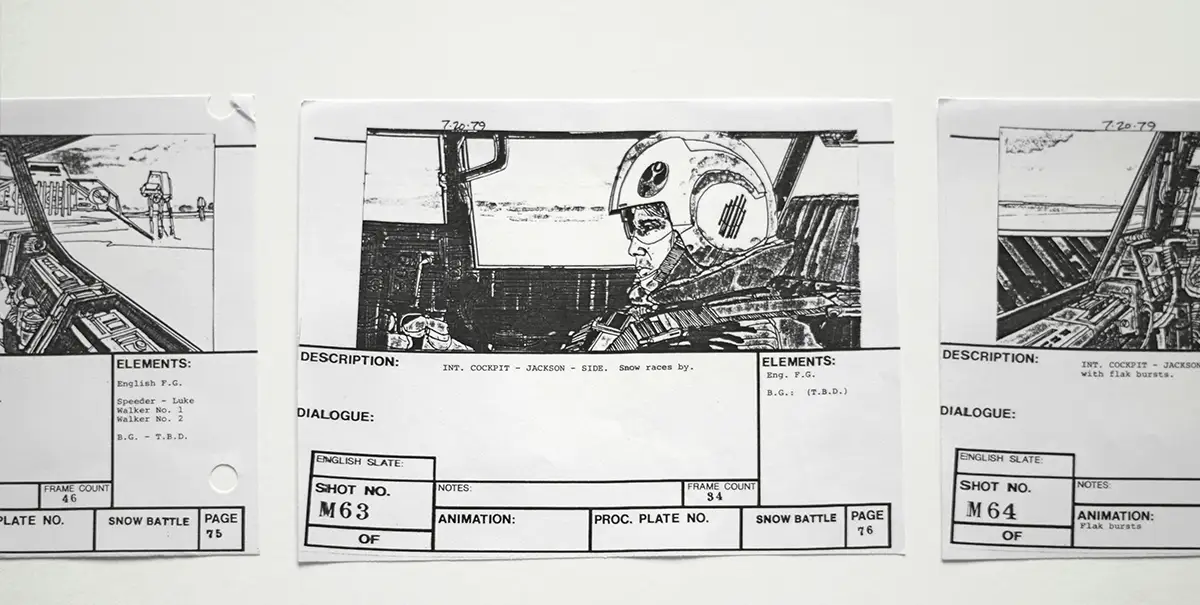
Before we get into the nitty-gritty, let’s chat about why storyboarding is so important. A storyboard is essentially a visual script for your video or film. It breaks down the action shot by shot, helping everyone involved in the production understand exactly what’s expected. This not only ensures that the creative vision is maintained but also saves time and money by preventing misunderstandings and reshoots.
1. Start with a Solid Script
The first step in creating an effective storyboard is having a solid script. The script should be detailed enough to provide a clear roadmap but flexible enough to allow for creative input from the production team. It should include dialogue, action, and any essential visual elements.
Tip: Collaborate closely with your writers to ensure the script aligns with your vision. A well-written script sets the foundation for a strong storyboard.
2. Break Down the Script into Scenes
Once you have your script, it’s time to break it down into individual scenes. Each scene should represent a specific moment or action in your video. This breakdown helps you organise your thoughts and ensures that no detail is overlooked.
Tip: Use a scene breakdown sheet to list each scene’s key elements, such as location, characters, and essential actions. This will make it easier to create detailed storyboard frames later on.
3. Sketch Your Ideas
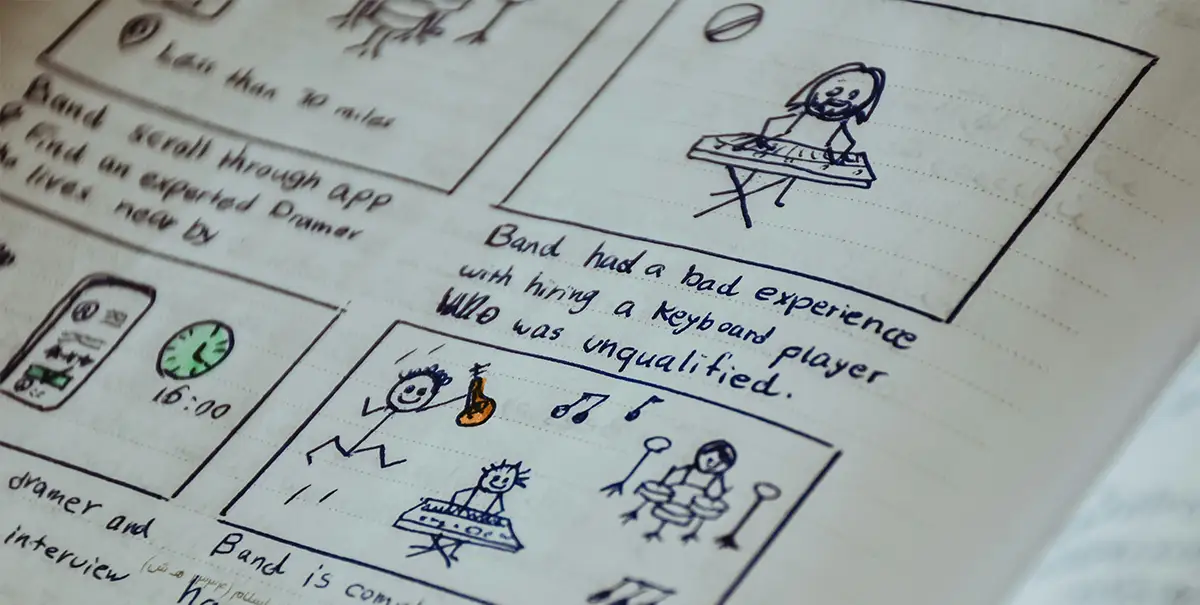
You don’t need to be an artist to create a storyboard, but clear sketches can significantly enhance communication. Start by drawing rough thumbnails of each scene. Focus on framing, camera angles, and the key actions happening in each shot.
Tip: Keep your sketches simple but clear. Use arrows to indicate movement, and include notes on camera angles, transitions, and special effects.
4. Include Descriptive Notes
While visuals are critical, don’t forget to include descriptive notes. These notes should explain what’s happening in each frame, any dialogue or sound effects, and any specific instructions for the production team.
Tip: Be concise but detailed. The goal is to provide enough information for the production team to understand your vision without overwhelming them with unnecessary details.
5. Use Digital Tools
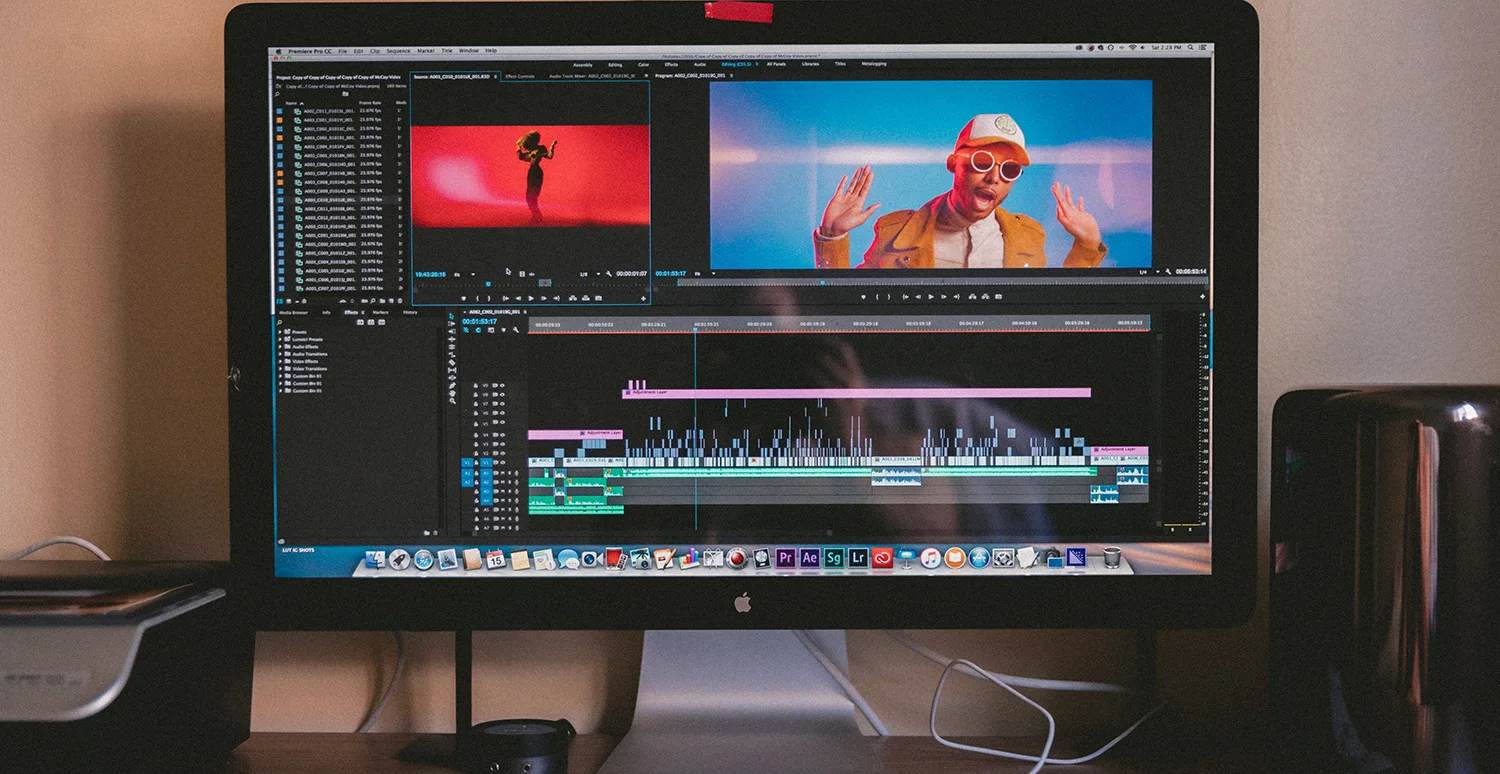
There are numerous digital tools available that can help streamline the storyboarding process. Software like Storyboarder, Toon Boom Storyboard Pro, and FrameForge offer features that make it easier to create professional-quality storyboards.
Tip: Experiment with different tools to find the one that best suits your needs. Digital storyboarding can save time and allow for easy revisions.
6. Collaborate and Get Feedback
Storyboarding should be a collaborative process. Share your storyboard with your production partners and get their feedback. This ensures that everyone is on the same page and allows for any necessary adjustments before filming begins.
Tip: Schedule a storyboard review meeting with your production team. Use this time to discuss any potential challenges and brainstorm solutions together.
7. Revise and Refine
Based on the feedback you receive, revise and refine your storyboard. This may involve tweaking sketches, adding additional notes, or even reworking entire scenes. The goal is to create a storyboard that accurately represents your vision and can be easily understood by everyone involved in the production.
Tip: Don’t be afraid to make changes. A flexible approach to storyboarding allows for creative input from your production partners and can result in a better final product.
8. Create a Shot List
Once your storyboard is complete, create a shot list. This is a detailed list of every shot needed to complete your video, based on your storyboard. The shot list helps your production team plan their work and ensures that no crucial shots are missed during filming.
Tip: Organise your shot list by location and scene to streamline the production process. Include details like shot size, camera movement, and any special equipment needed.
9. Communicate Clearly and Often
Throughout the production process, maintain clear and consistent communication with your production partners. Regular check-ins and updates help ensure that everyone stays aligned with the creative vision.
Tip: Use collaboration tools like Slack, Trello, or Asana to keep everyone on the same page. Regular video calls or in-person meetings can also help resolve any issues quickly.
Conclusion
Effective storyboarding is a game-changer for agencies working with production partners. By following these tips, you can clearly communicate your vision, streamline the production process, and ensure that the final product meets your expectations. Remember, the goal is to create a visual roadmap that guides your production team from start to finish, bringing your creative concept to life with precision and flair.
So, grab your pencils (or stylus), gather your team, and start storyboarding your next masterpiece. Happy creating!
